As the world goes more digital every day, the option to print USPS shipping labels straight from your home or office has become a major advantage for businesses and individuals alike. The ability to generate USPS labels using your own printer can significantly simplify workflows, reduce costs, and give you better control over your deliveries.
This guide walks you through the entire process of generating, printing, and managing USPS shipping labels, whether you’re an online seller, a small business owner, or someone who ships packages regularly.
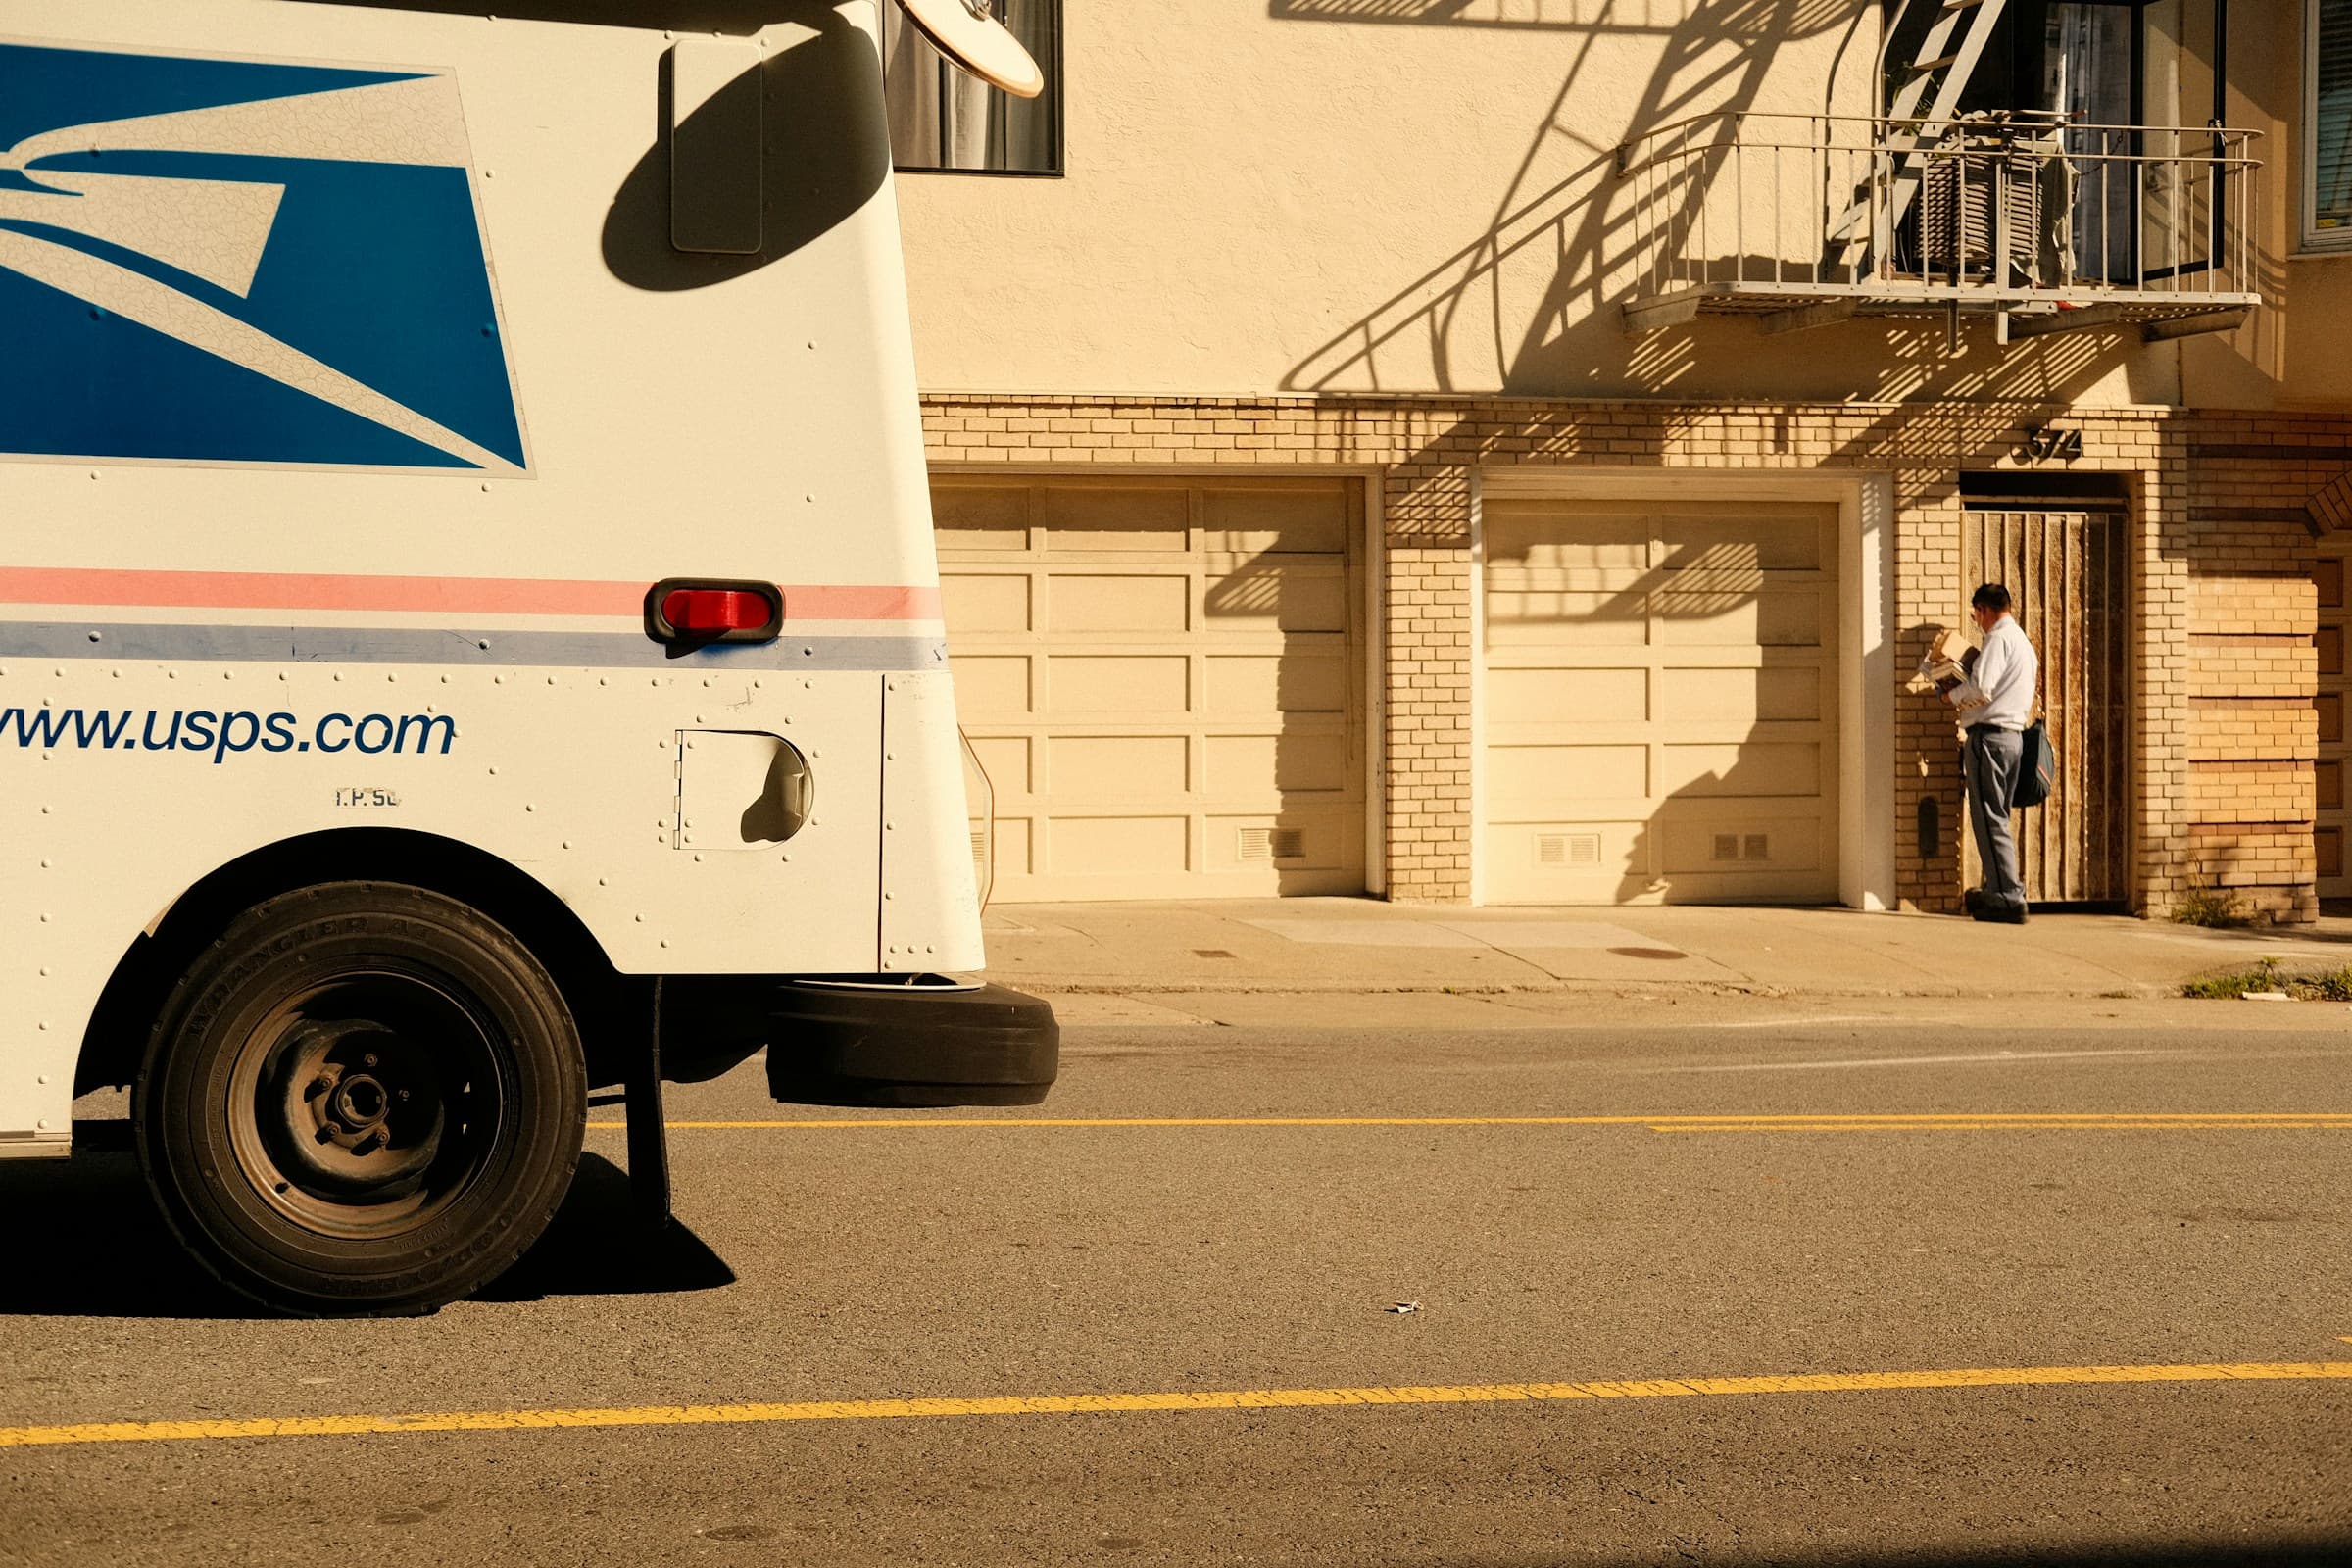
Print USPS Labels Easily From Home
Modern online shipping solutions have helped streamline the entire logistics industry. The ability to print and manage USPS labels from any connected computer also gives private users the same convenience that businesses have access to.
Instead of traveling to the nearest post office and waiting in line, anyone can now generate and manage shipping labels using their computer or mobile device. This option also grants 24/7 access to USPS labels, as well as easy package tracking and shipment handling.
Generating labels from your own printer also means you get to enjoy discounted postage rates. Over time, these savings add up, which can be especially substantial for frequent shippers.
Step-by-Step: Printing USPS Shipping Labels Online
Creating USPS shipping labels online is quick and easy, as long as you have a device connected to the internet and a printer. You can generate a label and have your package ready for mailing in minutes via USPS’ Click-N-Ship feature. Follow these steps:
Create a free USPS.com Click-N-Ship account, if you don't have one yet.
Select "Create a Label," and enter the following details: recipient and sender name, address, and contact info; package dimensions and weight; and select your desired service (Priority Mail, Ground Advantage, etc.)
Add the label to your cart and pay for postage with a credit card or Paypal, then confirm payment.
Download the PDF label, then print it at home using standard paper or 4x6 labels. Alternatively, you can use the Label Broker to generate a QR code.
Attach it securely to your package.
Drop off the package at the Post Office or schedule a free pickup from your home.
If you have no printer, the QR code generated by the Label Broker feature allows you to print your label at the Post Office. You'll receive the QR code via email or text; just show it at the Post Office and the staff will print the label for you. You may also have physical labels delivered to your address for a fee.
Pro tip: Save your shipping preferences, like your default return address and package and printing options to help ensure accuracy of package information each time you print a label.
You can also use a USPS-authorized online postage service, such as Stamps.com and Endicia, or an e-commerce platform, such as eBay, to print your USPS shipping label. Try Uspostage.io to print labels and pay for postage using crypto.
Tools You Need to Print USPS Labels at Home
For smooth and error-free label printing, make sure you have the right printer setup and label paper.
Most standard inkjet or laser printers that support common label sizes (4x6) or standard letter-size paper (8x11) work well for USPS labels. Configure your printer settings for high-quality output so barcodes and all package information are clear and scannable.
If you ship frequently, it’s a good idea to invest in label paper, which comes in several formats including adhesive sheets and pre-perforated labels. Label paper is compatible with home printers. If you ship in high volumes, consider investing in a thermal label printer for faster and more efficient printing.
Organizing and Managing USPS Shipping Labels
If you ship packages frequently, and especially in high volume, organizing and managing your shipping labels is essential for efficient shipping operations. Proper label management reduces errors and saves time.
You can create a spreadsheet of all your shipping labels’ tracking/reference numbers and organize all your shipping labels in a folder in your hard drive, a cloud storage, or via a shipping software. Create a system for easy tracking, i.e., organize your labels by shipment date or batch. Explore USPS tracking tools to stay up-to-date on the status of all your deliveries and so you can quickly address issues as soon as they arise.
Alternatively, you can use USPS-approved third-party platforms to print labels, manage postage, and keep track of shipments from a single dashboard. Many of these solutions offer features such as batch printing, address validation, and shipment history.
USPS Label Printing Best Practices
Printing shipping labels at home is convenient, but when issues occur, you won’t have experienced staff to help you fix them. Take note of these printing tips to help you avoid printing problems:
Print labels in bulk if you ship frequently.
Use templates or pre-set shipping profiles to streamline your workflow, ensure consistency across shipments, and minimize errors.
For high-volume printing needs, consider investing in a dedicated shipping label printer to speed up production and ensure accuracy.
Explore shipping platforms that support batch processing so you can easily print multiple labels at once.
Always double-check shipment details before printing your labels.
Double-check your printer settings (adjusting margins or scaling options) before hitting the Print button to ensure the paper size matches your label stock and help you avoid alignment issues.
Keep your printing software updated and make sure you’re not low on ink or toner.
Selecting the Correct USPS Shipping Service
USPS offers several shipping options to suit different needs, including First-Class Package Service, Priority Mail, and Priority Mail Express.
First-Class Package Service (Now USPS Ground Advantage) is an affordable option for lightweight items/small parcels (under 16 oz for retail, up to 70 lbs commercially); delivery timeframe is 2-5 business days.
Priority Mail is best for general/everyday shipping; it offers free Flat Rate boxes/envelopes and up to $100 insurance (retail); delivery timeframe is 1-3 business days.
Priority Mail Express is best for time-sensitive, urgent deliveries; it offers a money-back guarantee, 365-day availability (except holidays), overnight options, Flat Rate options, and insurance; delivery timeframe is 1-2 business days guaranteed.
Understanding USPS services helps you choose the right option for each shipment, ensuring timely delivery while keeping costs under control.